Creating a Fish-Focused Chatbot with OpenAI and GBIF API: A Step-by-Step Guide !
In a previous post, I detailed how to build a fish information-fetching web application with Flask, which you can check out here. Now, I’m excited to take it a step further and explore how to create a specialized chatbot focusing on marine science, particularly fish species and their distribution. 🐠
Chatbots have become an integral part of user interaction, providing instant answers and improving user experience. In this article, I'll explore how to create a specialized chatbot that focuses on marine science, particularly fish species and their distribution. This project leverages OpenAI's powerful language model and the Global Biodiversity Information Facility (GBIF) API to provide accurate and detailed responses.
Project Overview
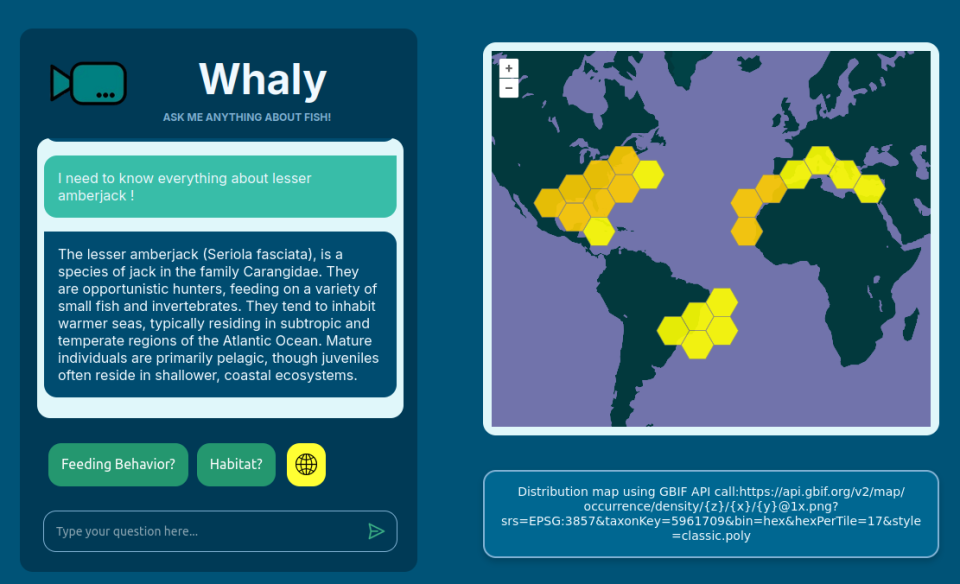
The objective of the chatbot is to respond to inquiries about marine species, habitats, and behaviors while also being able to suggest follow-up questions and retrieve taxonomic data. The bot will be designed to handle specific questions, guide users to deeper knowledge, and ensure that all interactions maintain a structured format. This has been the most challenging aspect, as LLMs often struggle to retain prior knowledge."
Step 1: Setting Up the Environment
Before diving into coding, ensure you have the necessary tools installed:
- Node.js: This will help run our server-side code.
- OpenAI API Key: You need an account with OpenAI to access their models. Secure your API key from the OpenAI website.
- GBIF API: This API will allow us to retrieve taxonomic data on fish species.
Step 2: Building the Chatbot
Here’s how I structure the chatbot using JavaScript:
Importing Dependencies
We will use the openai package for accessing the OpenAI API and fetch the GBIF API.
import { process } from '/env.js';
import { Configuration, OpenAIApi } from 'openai';
Configuration
Set up the OpenAI configuration with the API key.
const configuration = new Configuration({
    apiKey: process.env.OPENAI_API_KEY
});

const openai = new OpenAIApi(configuration);
Defining the Expected Response Format
We create a structure that the bot will follow for its responses:
const expectedFormat = {
    response: '',
    keywords: [],
    follow_up_questions: [],
    taxon: 'none'
};
Conversation Array
The conversation history is stored in an array, which includes a system message that outlines the bot's purpose and constraints.
const conversationArr = [
    {
        role: 'system',
        content: `You are an expert in marine science...`
    }
];
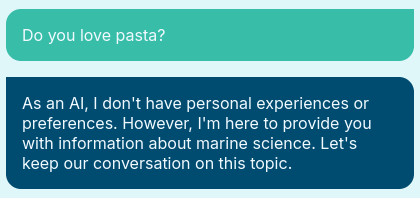
That's here that I can constrain the behavior of the bot, making it not really fun at parties:
Step 3: User Input Handling
To interact with users, we create an event listener that captures input and processes it:
document.addEventListener('submit', (e) => {
    e.preventDefault();
    const userInput = document.getElementById('user-input');
    // Create speech bubble and add user input to conversation
    ...
    fetchReply(); // Call the function to get the bot's reply
});
Step 4: Fetching Replies from OpenAI
The fetchReply function sends the user's input to the OpenAI API, processes the response, and updates the conversation history:
async function fetchReply() {
    const response = await openai.createChatCompletion({
        model: 'gpt-4',
        messages: conversationArr,
    });
    // Process and handle the response
    ...
}
Step 5: Taxonomic Data Retrieval
To enrich responses with relevant taxonomic information, we call the GBIF API based on the taxon extracted from the chatbot's reply:
async function getTaxonKey(taxon) {
    const url = `https://api.gbif.org/v1/species/match?name=${encodeURIComponent(taxon)}`;
    ...
}
If the taxon is found, a distribution map will be plot on the left, with the corresponding API call. I’ve opted for one of the many styles available from the GBIF API, but the others are really cool too!
Step 6: Rendering Responses and Suggestions
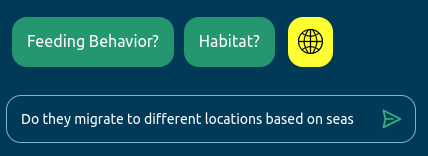
Once the bot has generated a reply, we render it on the UI, implementing a typewriter effect for enhanced user engagement. We also provide suggestion buttons for follow-up questions:
function renderTypewriterText(text) {
    // Create a typewriter effect for the bot's reply
    ...
}

function renderSuggestions(keywords, follow_up_questions) {
    // Create suggestion buttons for follow-up questions
    ...
}
Step 7: Testing and Iteration
After implementing the chatbot, thoroughly test it with various inputs to ensure it functions as intended. Pay attention to how it handles edge cases, such as invalid queries or API errors.
Next Steps
Looking ahead, I’d like to connect the bot to the FishBase API, which would provide more quantitative data about fish species. This would make the interaction even more informative. I also think it would be great to include scientific references alongside the bot’s responses, so users can dig deeper into the research if they want to learn more.
The whole project is available on my GitHub: Chatbot Whaly.